By Kathy Torres
Water is critical for a healthy garden and landscape, however, it’s not exactly easy to determine how often and how much is necessary to keep plants looking good and thriving. Overwatering, as well as not watering enough are mistakes that can cause problems, and unfortunately, there isn’t a specific formula. Getting it just right can be complicated because of these variables: Water requirements specific to plant varieties, soil type/quality, sun exposure, temperature, plant maturity, and overall growing environment.
Let’s elaborate on the variables…
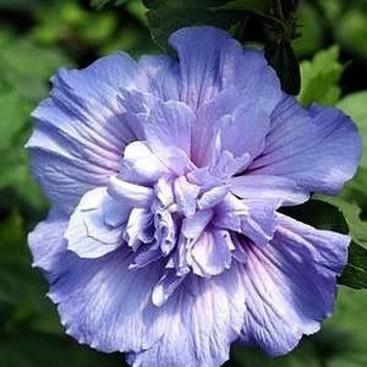
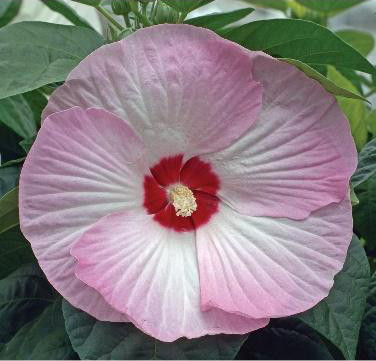
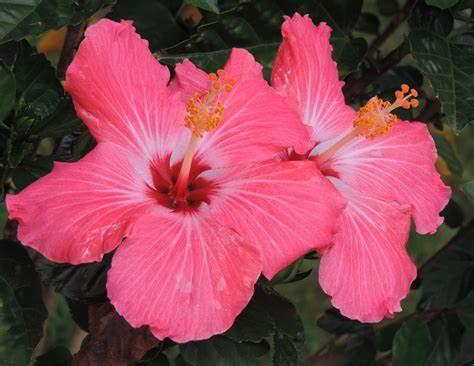
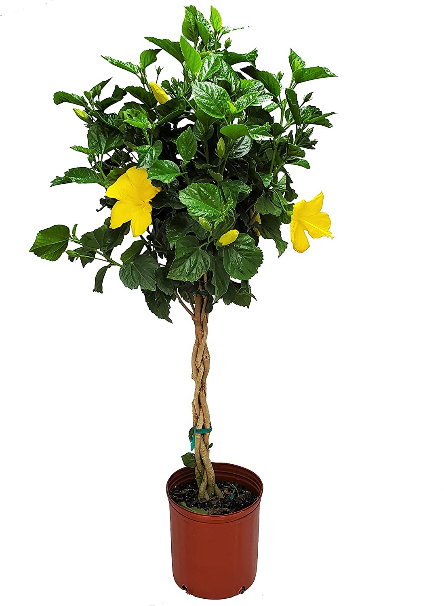
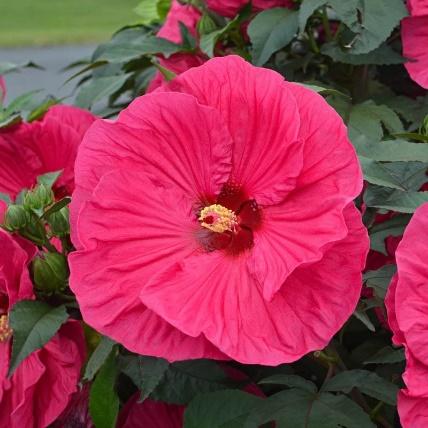
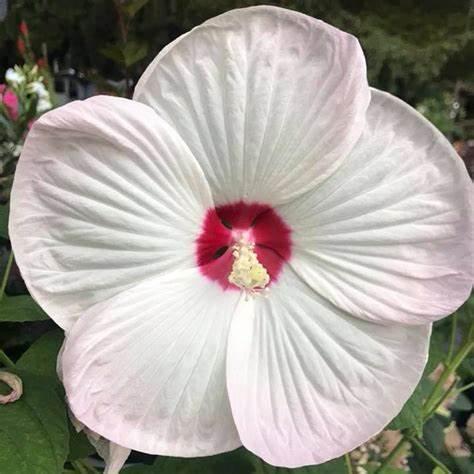
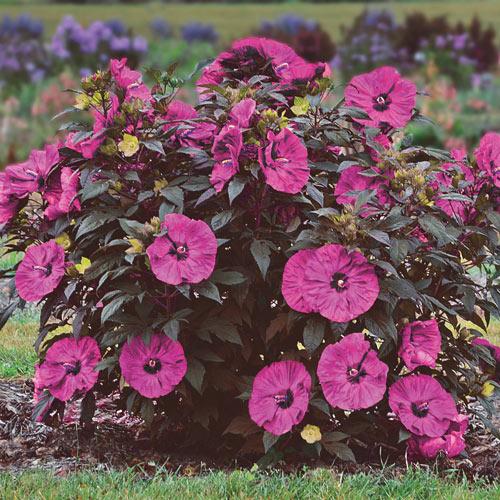
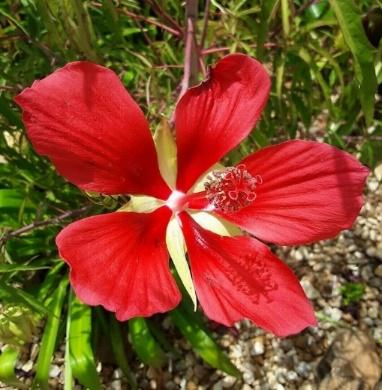
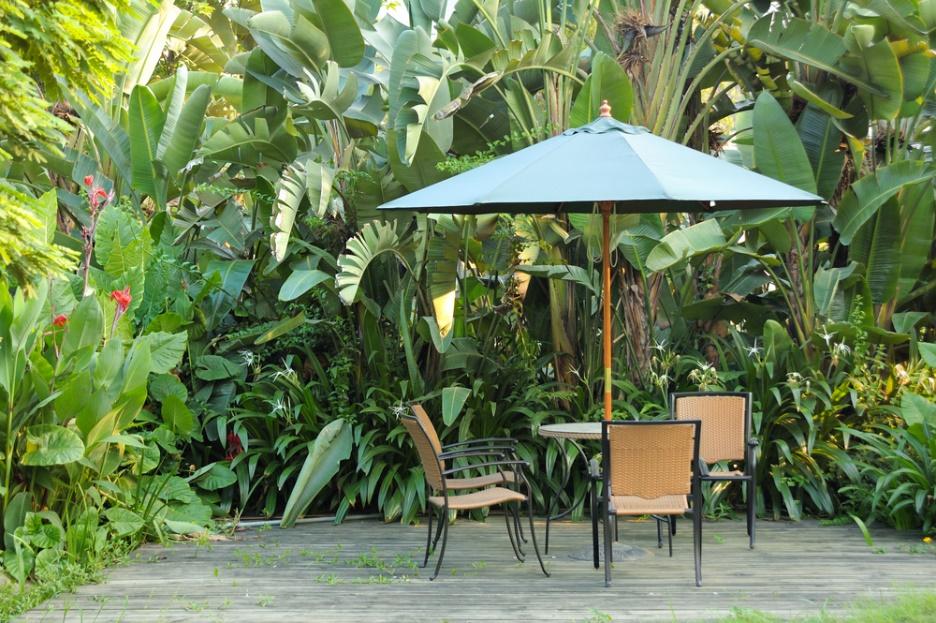
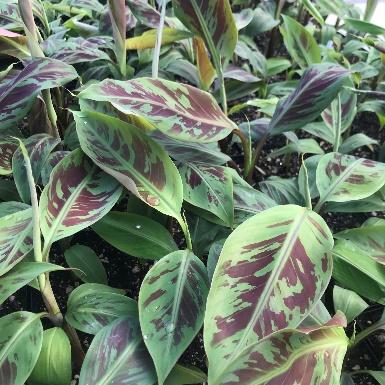
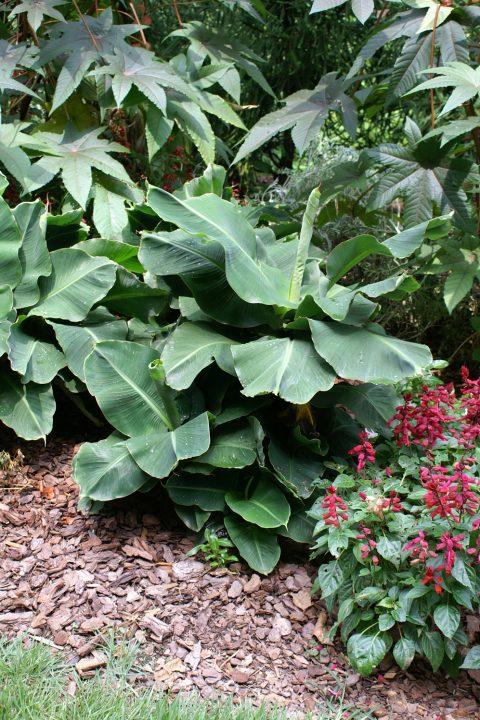
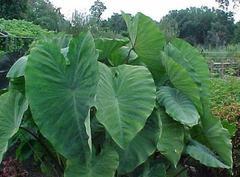
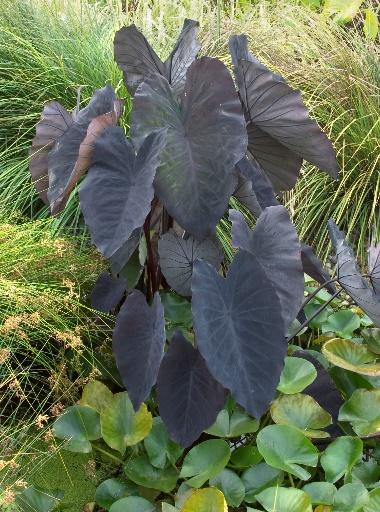
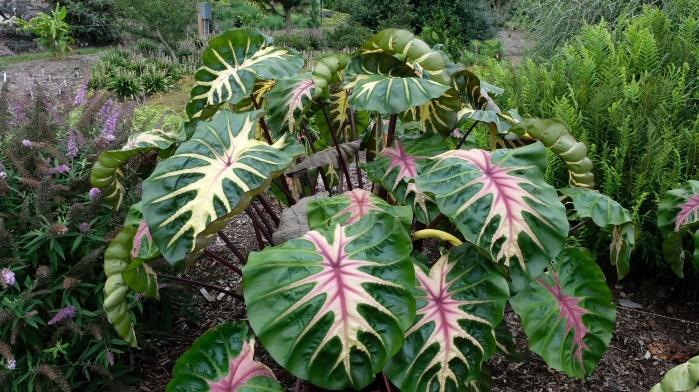
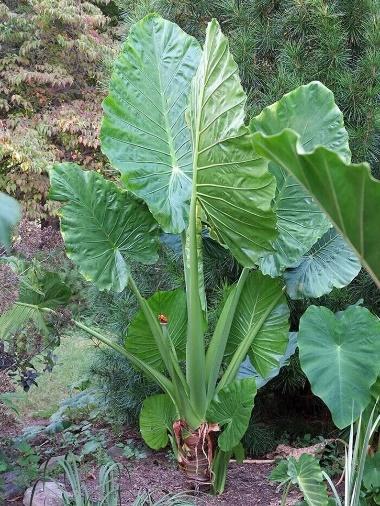
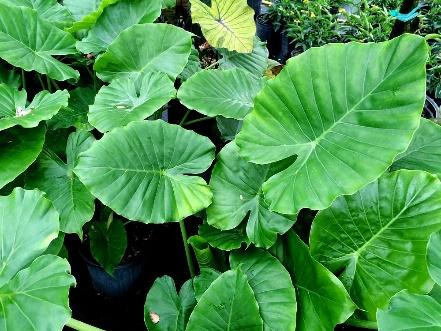
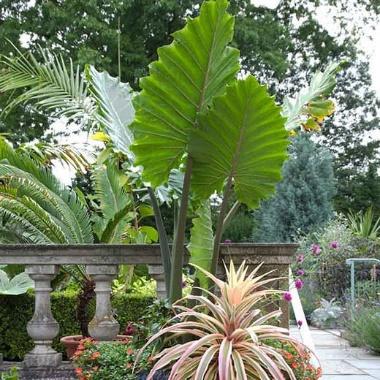
Water Requirements Specific to Plant Varieties – There is no “one size fits all” when it comes to adequate watering. So many different plants exist and each has its own needs in terms of sun, soil, nutrients, and water. Dessert plants like Agave, Cactus, or Succulents like almost ignored and do not need much water. Other specimens like Iris and Elephant Ear like the soil to be damp. River Birch trees are perfect for the edge of a pond, lake or river because their roots can stay wet. Most plants like a good, deep watering, and then time to dry out before watering again, however, this is NOT ALWAYS the case. It’s a good idea to have some knowledge of a plant’s general growing requirements when determining the location in the garden. It will keep watering simple if you plant a new specimen near other plants with similar water requirements. In this way, there is no need to readjust an irrigation system or watering schedule, since all the plants in the group have similar needs.
Soil Type/Quality – Planting in a container is ideal because you can make sure to use a professionally prepared potting mix that provides exactly what is needed. NOTE: one or more drainage holes in a container/pot are a must! Ultimately, in all planting areas, you want proper drainage, as well as a good growing medium with proper nutrients. The soil in your landscape may not, unfortunately, be the best possible growing medium for your plants. Soil in the Midlands can be sandy, clay, loamy, or a combination of all of these. Sandy soil allows water to seep through quickly, causing plants to dry out quickly. Clay soil holds water because it is very dense. If plants in clay soil are overwatered, roots may rot. At Wingard’s, we recommend using one of our soil amendments to enhance the existing soil if needed to adjust the drainage capability, texture, and nutrient value to give plants a better chance to thrive. Typically, sandy soil needs more water, clay needs less, and loamy is somewhere in-between.
Sun Exposure – Every single plant specimen is suited to a particular amount of direct sun. Some like a lot and some are ok without any at all. It’s very important to know this characteristic and you can usually find this on the plant tag. As you know, full sun (morning AND afternoon, or just afternoon) in this area of the country is extremely hot in the summer months, so understand that these plants will need more water than those in areas of more shade because the soil will dry out faster. The exception is clay. Checking the soil before watering (more about this below) is key to avoiding overdoing it. Areas of part sun in the morning, or full shade can usually be watered less frequently.
Temperature – Seasonal changes in temperature directly affect how well soil will hold moisture. Because temperatures are mild in fall and winter here, fall annuals like Pansies grow well in full sun, and don’t require constant watering. Summer annuals like Petunias, however, will be exposed to much higher temperatures and need frequent watering. Established shrubs and trees can usually make it ok with water provided by rain showers, but it’s good to pay attention in times of drought. They may need a little extra watering and we have some advice on that below. The primary reason we recommend fall and winter for planting trees and shrubs, is because temperatures are cooler, soil doesn’t dry out as fast, and less watering is required because we usually get more rain during this time of year. If you do decide to plant trees and shrubs in the summer, significantly more watering will be required.
Plant Maturity – All plants, including specimens described as drought tolerant, will require water when first planted. This is because the root system is in the early stages of development and many of the smaller roots responsible for water uptake are usually damaged during shipment and planting. Watch new plants carefully and keep them well-watered as their roots settle in and they adapt to their new or transplanted location. As plants mature, the root system becomes more complex and creates a better system for obtaining water and nutrients, however, if signs of stress are indicated in periods of drought (leaves turning yellow, brown and crispy, dropping off), a little extra watering may be indicated.
Overall Growing Environment – Additional factors may exist that need to be considered in terms of watering. One example is planting beneath an existing tree. In this case, the new plant will be competing with the established plant for water, and extra watering may be needed, especially in the summer. Are you planting in a damp/wet area? In this situation, understand that most plants will not survive when the roots stay wet, but there are some plants that can do well. Just do your research. Maybe consider a Rain Garden. Planting on a slope can make it challenging to water appropriately. Build a small soil wall to contain water while it percolates into the soil, otherwise it will run off. A soil wall is a good idea for all new plantings, especially shrubs and trees.
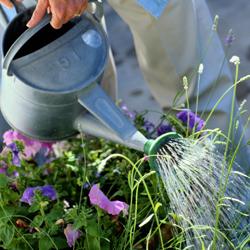
How can you tell when it’s time to water? Often plants will wilt as the soil becomes too dry. The leaves may droop, and if it’s an upright plant, the top ends may become soft and bend over. Glossy plants may begin to look dull, while thick leaves will shrivel. If you notice these signs, it is time to water! Most plants will revive if watered quickly enough, just be sure to water deeply. The best way to determine if the soil is dry is to push your finger into the soil an inch or two from the base of the plant. Perfect soil should feel cool and slightly moist. Some soil should stick to your finger. If none does, it’s too dry. Some gardeners use water meters to see the precise amount of moisture. If you’re unsure, this tool can be helpful, especially with clay soil.
The amount of water that is appropriate for your plants or landscape can change from day to day. A cool morning will allow more dew to form and drain to the soil, or a sudden afternoon thunderstorm can be enough water to keep your plants hydrated for a few days. An overly hot day, however, can rapidly deplete water resources and extra watering may be required. Check your plants and landscape regularly to be sure they are getting adequate water and make adjustments as needed to keep them suitably moist without either too much or too little water.
How MUCH water?
Newly Planted Trees or Shrubs (3 or 7 gal) installed in summer – Each plant will need about 1 inch of water a day when daytime temperatures are 90 degrees or higher. (Even more if temperatures exceed 100 degrees.) Put several containers out and put a mark at a depth of 1 inch. Then turn on the irrigation. Determine how long it takes to fill the container to the 1 inch mark. Divide the time by 4 and set the zones to run that
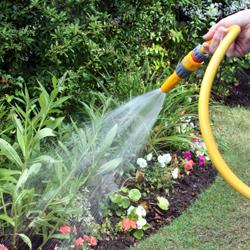
amount of time every other day starting at 5:30 am. Some zones may need more or less water due to the soil’s ability to drain. If you are hand-watering, use a shower nozzle on the hose, circle around the root ball until it is soaked to 1 inch (time may vary, depending on your soil type). Direct the water shower to the ground, rather than the foliage to avoid causing fungus issues. When the soil dries out (check the soil as recommended above), water again. When planting in cooler temperatures in spring, fall and winter, less watering is necessary. Check the soil for dampness every few days and water if soil is dry.
Trees (15 gal) installed in summer – Take a 5-gallon bucket and put a hole on the side near the bottom using a 1/16 inch drill bit (approximately the diameter of the lead in a #2 pencil). Fill it with water daily, and it will slowly trickle out. Put a brick in the bucket so it doesn’t blow away when it is empty. For larger trees, use more buckets.
Remember to reduce the water when our high temperatures decrease. If the temperature high is in the:
80’s – water every other day
70’s – water every 3rd day
60’s – water every 4th day
50’s – water once a week
Summer Annuals and Perennials – A general rule for these types of plants is to water deeply, then let the soil dry out in between waterings. If you check the soil and it is wet or damp, give it a little more time; if the soil is dry, go ahead and water again. Plants in containers will dry out much faster than those in the ground, so keep that in mind and pay attention to them, especially if they are in full sun. The general rule applies to most summer annuals and perennials, however, there are a few exceptions, and this is why it’s important to seek advice from the experts in the garden center. Some may like to stay dry, like Begonias, Pentas, and Vinca (all annuals); if you water them too much, they may rot. Perennials are often purchased in a bigger size, with a more developed root system, so they can typically hold water a little longer, especially if planted in the ground rather than in a container. The general rule, stated above, usually applies.
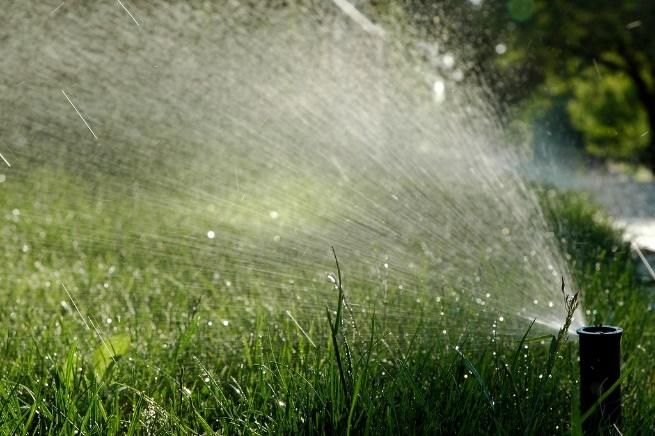
Established lawns require approximately 1 inch of water per week in the summer. Use the container method mentioned above to determine how long to run an irrigation system to get 1 inch of water. Keep a rain gauge in your yard to help determine if you will still need to water after it rains.
New lawns – follow the instructions from the installer, or the place of purchase.
It’s not an absolute science, but experience and following these recommendations will get you headed in the right direction. The key is to understand the factors in your landscape that affect the needs of the plants, and to watch how plants respond. Either increase or decrease watering if necessary as you observe. We have created a watering chart to provide additional help for you. Click HERE. Also, Clemson Home and Garden Information Center is a great resource for information on all things gardening. Check out https://hgic.clemson.edu/factsheet/watering-shrubs-and-trees/.


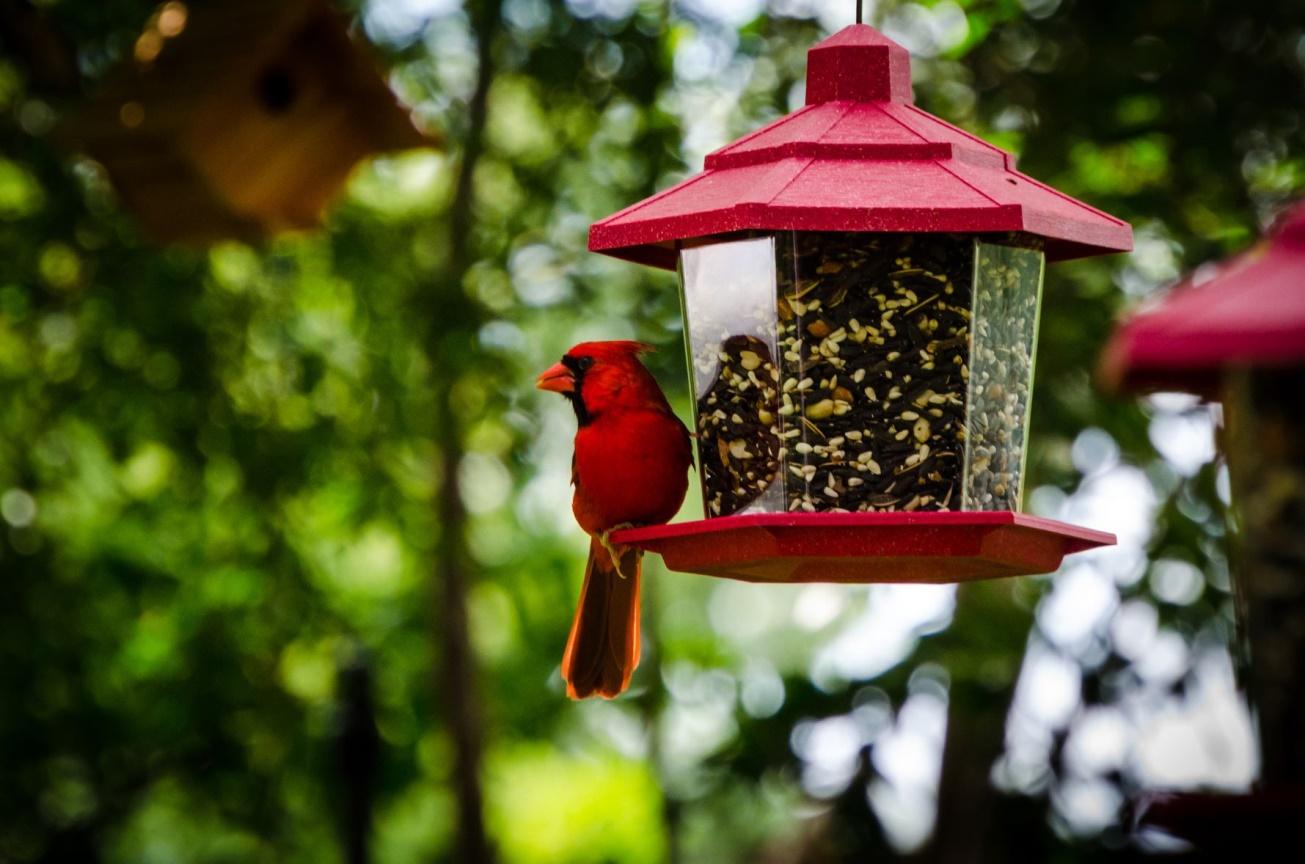


 Chances are you have probably received a Christmas card illustrating a snowy white landscape as the backdrop for a barren tree or fence post holding a bright red cardinal. The Northern Cardinal, AKA Red Bird, is common throughout the eastern United States from Maine to Florida, continuing north into Canada, and west to southern Minnesota, Nebraska, Texas, and the eastern half of Mexico. It’s hard to take your eyes off the male Northern Cardinal, with its brilliant red feathers, black mask, and orange/red beak. The female is a buff golden-tan with a red tinge to the wings and tail, with a smaller, less distinct mask. Both genders have a prominent head crest that can be raised and lowered to indicate the bird’s mood.
  It’s a common question we get this time of year! In fact, a customer sent us this picture.
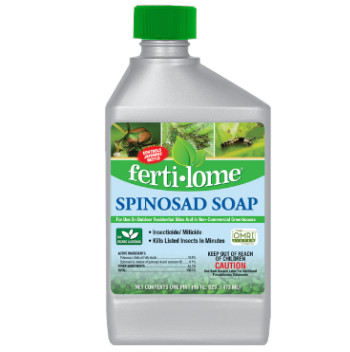
 You may have seen some beetles munching on your roses or crape myrtles or a variety of other flowering plants. These are Japanese Beetles, and they arrived a little late this year, since we had such a cool Spring. Japanese beetles feed mainly on flower buds or open blossoms, but can feed on leaves. Since many beetles feed mainly at night, the gardener rarely sees them, only the damage that they cause.
 Spring bulbs faithfully reappear at the most advantageous time – after a long, cold winter, just when we’re longing for bright colors to relieve the monotony of winter snow and ice. Most spring bulbs are perennial and multiply in number every year, bringing more beauty to the flowerbeds each spring, but some problems can destroy a carefully planted bulb bed. Seemingly carefree, bulbs do require a bit of nurturing to ensure they perform their very best for years to come.